Essentially, robot vacuums present themselves as the ideal cleaning tool. Despite this, regular maintenance and cleaning are still necessary to ensure that these machines are working properly.
A Quick Overview
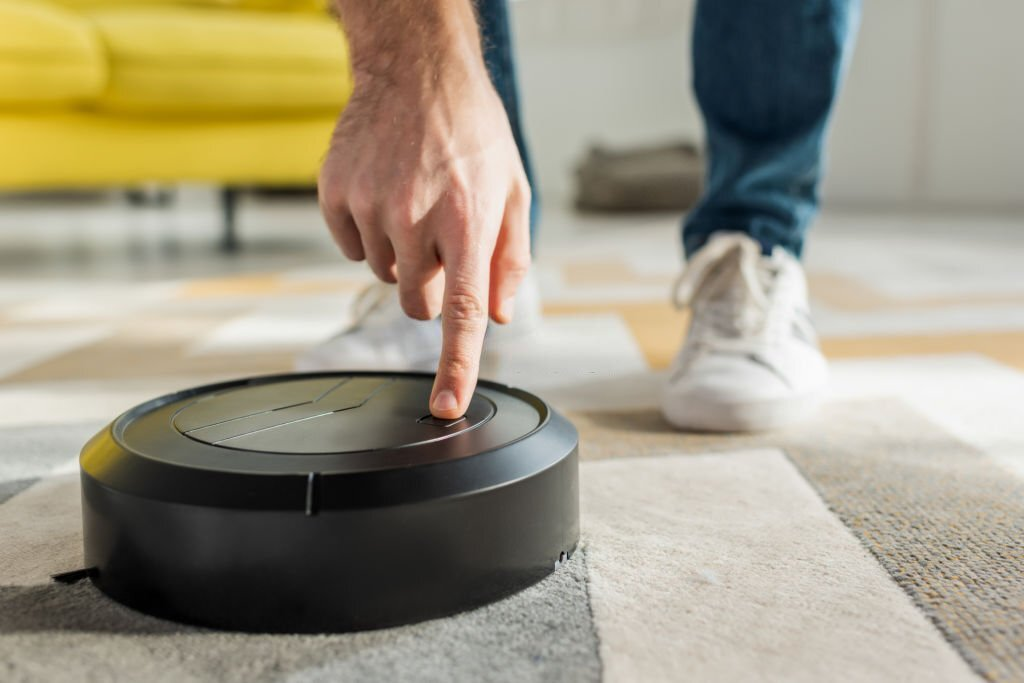
The robotic vacuum cleaner has revolutionized the way we clean. With the use of various sensors and programming, these machines can navigate around a room, picking up dirt and debris while avoiding obstacles.
They allow for hands-off cleaning, freeing time for more important tasks. So instead of buying traditional vacs like upright or handheld vacs, many people today are starting to purchase robot vacuums. Of course, this is a suitable move for those who don’t have the time to spend cleaning their floors.
But similar to other types of vacuum cleaners, robot vacuums are not self-sufficient; they aren’t fully self-cleaning either. They require regular maintenance and cleaning to ensure that they function optimally. This includes replacing the filters and regularly cleaning the brushes, as well as occasionally dusting the sensors.
Read on to learn more about robot vacuum cleaners and maintenance.
How To Clean A Robot Vacuum Cleaner
No matter the brand of your robot vacuum, you would need to clean it regularly for it to be able to run smoothly. Now, there are multiple parts that a robot vacuum cleaner contains. Most of them are wires, sensors, and chips. Fortunately, you don’t actually need to deal with these highly complex components every time you clean the robot vacuum.
Here’s how to do it.
Turn Off The Robot Vacuum First
Before anything else, it is essential that you ensure that the robot vacuum isn’t running. Cleaning the vacuum while it’s on could damage its components. At the same time, you don’t want to be disturbed by buttons that you can press accidentally.
Clean The Dustbin Of The Robot Vacuum
When it comes to cleaning the dustbin of the robot vacuum, it is important to follow the manufacturer’s instructions. First, lift the dustbin by releasing the latch and removing it from the main body of the vacuum.
Empty the contents of the bin into a trash can or bag. Using a damp cloth, wipe down the inside of the dustbin and the filter, taking care to remove any visible debris. Reattach the filter if necessary. Re-insert the dustbin back into the vacuum, and secure the latch.
Others tend to clean the dustbin when it’s already half-full, especially if there is a lot of hair and pet fur. These things can quickly fill the bin. It is important to clean the special features integrated into the bin, as well. Just follow the manual on how to clean them properly.
Also, you should still clean the bin even if it has a self-emptying feature. Keep in mind that it is not a fool-proof function, and you would still see some leftover residues even if the robot vacuum has emptied its content on the dock.

Clean And Change The Filters
Robot vacuums have filters on them, similar to standard vacuum cleaners. Usually, they have at least one filter, with some models having two to three.
- To clean the filters of a robot vacuum, start by removing the filter from the robot vacuum. Depending on the model, this may require unscrewing the filter housing or removing the dustbin.
- Once the filter is removed, tap the filter against the side panel of a trash bin to remove any debris.
- If needed, use a soft brush to remove any stubborn debris. Rinse the filter in lukewarm water and let it dry completely before replacing it.
To preserve the filter’s life, it is recommended that it be checked and cleaned regularly. Ensure the filter is completely dry before returning it to the robot vacuum.
Replace The Filter Once They Are Worn
One important part of this maintenance is regularly checking the filter and replacing it when it is worn or expired. Depending on the model, these filters should be changed every three to six months and checked more often if the vacuum is used frequently.
In addition, filters should be replaced if they become clogged with dirt, dust, or pet dander. Replacing the filter of your robot vacuum is an important part of the upkeep of your machine and should not be overlooked.
Clean The Vacuum Roller
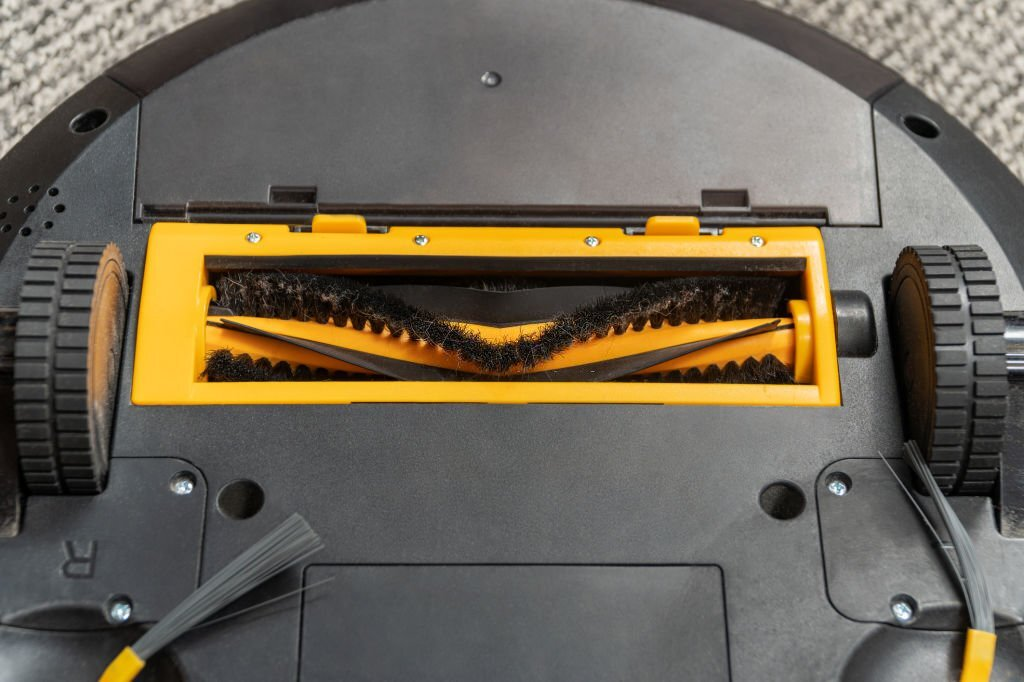
The roller of a robot vacuum is a critical component of its functionality. It collects dirt and debris and transfers it to the dust bin. The roller is usually made up of a brush and a suction system, which work together to pick up dust and debris.
This system works by rotating and creating suction that helps lift dirt particles from the floor and trap them in the roller. The roller also helps to spread the vacuum’s suction more evenly over the surface, ensuring an even and thoroughly clean.
Regularly cleaning the roller of a robot vacuum is essential for optimal performance.
- To clean the roller of a robot vacuum, begin by turning the device off and unplugging it from the power source.
- Using a pair of scissors, carefully trim away any threads, strings, or other debris that has become lodged in the roller.
- Once the majority of debris has been removed, use a soft cloth to slowly wipe away any remaining dirt or dust.
Keep in mind that the brush guard and brushes of the roller should be replaced regularly. Many robot vacuum manufacturers suggest that these components must be replaced every six months. Specifically, the guards should be changed once you notice that their rubber strip is starting to wear off.
Clean The Side Brushes

Robot vacuums typically have side brushes that help to reach dirt and debris in tight spaces and corners. The side brushes are usually located just below the main body of the vacuum and sweep dirt and debris away from walls and other furniture.
The side brushes are usually made of a stiff plastic material and can either be used alongside the main body of the vacuum or independently. They are flexible and move back and forth to reach even the most cramped spots. Side brushes are essential for robot vacuum owners to ensure their home or office is completely clean.
- Use a soft brush to gently remove any fibers or debris that may have become tangled in the brushes.
- If necessary, use a pair of scissors to carefully cut away strands.
- After the brushes have been cleared, use a damp cloth to wipe away any dust and debris that may have gathered on the surface.
- If the side brushes are still not clean, replacing them with a new set may be necessary.
Following these steps will ensure that your robot vacuum is working at its best and will provide the best possible cleaning performance.
Remove The Debris Stuck On The Wheels
Removing debris stuck on the wheels of a robot vacuum can be done in a few simple steps.
- Begin by turning the vacuum off and then carefully lifting the unit to gain access to the wheels.
- If the debris is visible, use a pair of tweezers to remove it. If the debris is embedded in the wheel track, use a small brush to loosen it.
- Once the debris has been dislodged, use a damp cloth to wipe away any residue.
- If necessary, use a cotton swab dipped in isopropyl alcohol to clean the area. Finally, turn the vacuum back on and test to ensure the wheels function properly.
Clean The Sensors
Robot vacuums are equipped with various sensors to help them navigate their environment. These sensors include an infrared sensor, which is used to detect the presence of objects, and an odometry sensor, which allows the robot to track its movements.
Additionally, some models feature an ultrasonic sensor, which detects walls and other obstructions. Finally, a cliff sensor helps the robot locate edges, such as stairs, and a touch sensor allows the robot to halt before it bumps into an object.
Robot vacuum sensors are essential for your device’s proper navigation and operation. To ensure that your robot vacuum is running optimally, it is necessary to clean the sensors regularly.
- To do this, you can use a soft, lint-free cloth. Start by gently wiping off any dust on the surface of the sensors.
- Next, use a damp, non-abrasive cloth to remove any stubborn debris or residue.
- Avoid applying too much pressure on the sensors, as this may cause damage.
- Finally, use a dry, lint-free cloth to remove any remaining moisture.
Tidy The Charging Docks
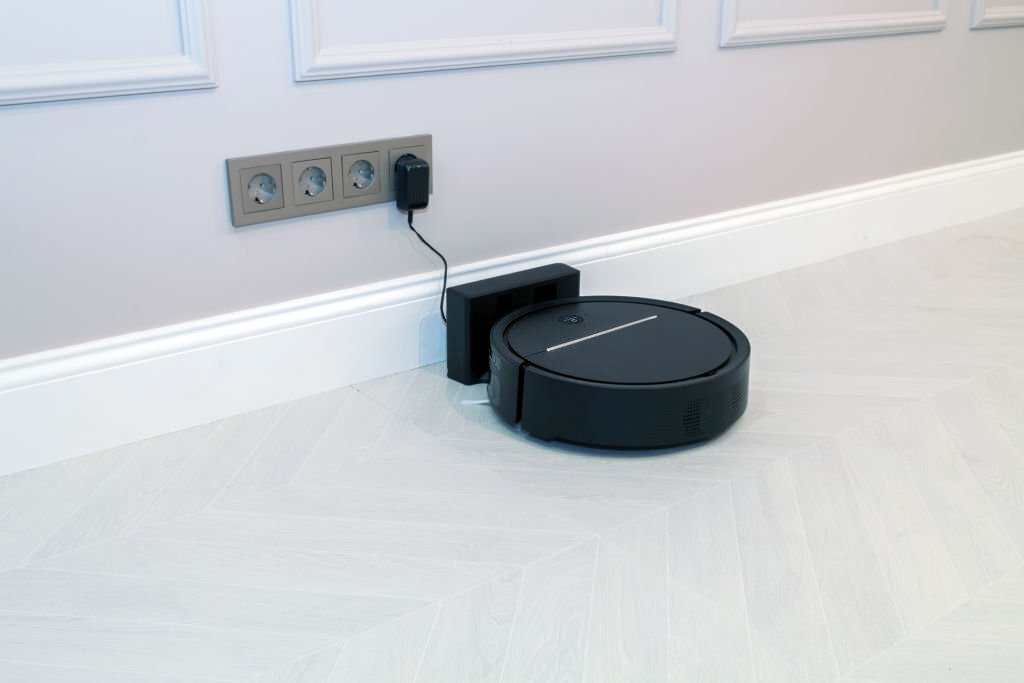
Robot vacuum charging docks are an essential accessory for robotic vacuums. They provide the vacuum with a place to safely and securely dock when it needs to recharge without taking up much space.
Charging docks are usually small and don’t require any complicated setup. Most docks feature a single charging cable that connects to the robotic vacuum and a power outlet. This ensures that the vacuum is always ready to go when needed.
The dock also helps protect the vacuum from accidental damage and can extend the product’s life.
- To clean the charging dock, start vacuuming it to remove any dust and debris.
- Next, clean with a damp cloth or sponge and use only mild detergent if necessary.
- Allow the dock to air dry before placing the robot vacuum back onto it.
- To ensure the charging contacts remain clean, use a cotton swab drenched with small quantities of rubbing alcohol to wipe away any dirt or debris. Additionally, ensure that the charging contacts are not damaged in any way.
Final Thoughts
Keeping your robot vacuum clean and in good working order will ensure you get the best performance and help extend its lifespan. Taking the time to regularly clean and maintain your robot vacuum will also help improve the dust and dirt it picks up and keep your home environment healthier. With a little effort, you can keep your robot vacuum running smoothly for years to come.


